Showing posts with label Recipes. Show all posts

Wednesday, December 8, 2010

Rolled Sugar Cookies

IMG_2965

It's not Christmas without sugar cookies, right?! My best friend's mom, Julie, is also gluten-free and is the best because she would send her daughter home from Christmas with gluten-free sugar cookies for me! I asked her to contribute her recipe to this blog and thankfully she agreed, so here it is!

_MG_2921

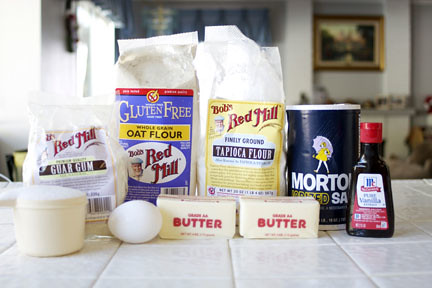
I used different flours than Julie does so I'm going to give this to you both ways! I also used guar gum instead of xantham gum...but that was only because I was out of xantham gum! I would prefer and recommend xantham gum over the guar gum!

_MG_2922

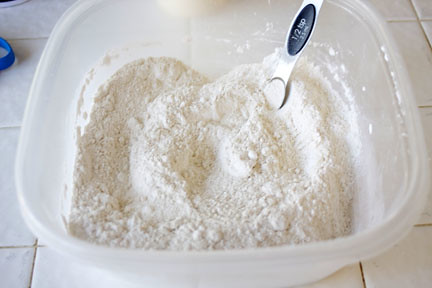
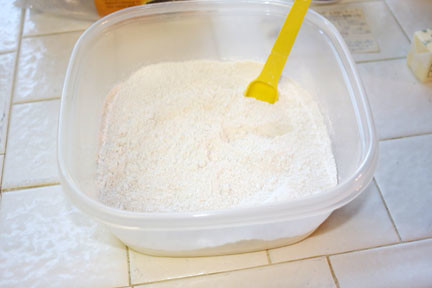
First, mix up your dry ingredients: flours, xantham gum and salt.

IMG_2924

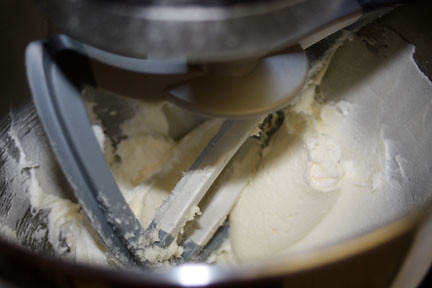
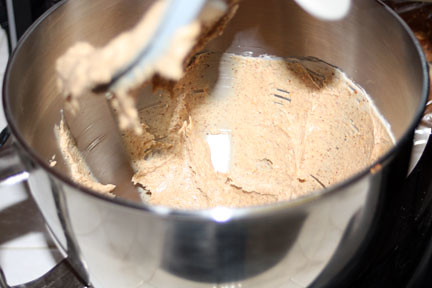
Next, beat the sugar and butter. Look how beautiful this is! I was amazed at how white it was!

IMG_2925

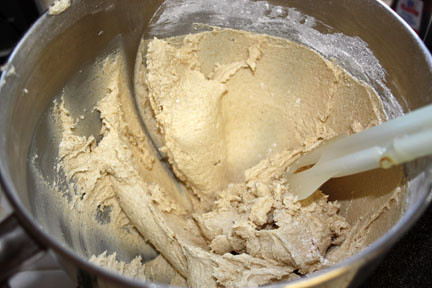
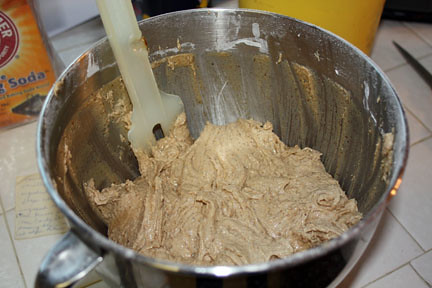
Add in the egg, vanilla and gradually add in the flour mixture.

_MG_2926

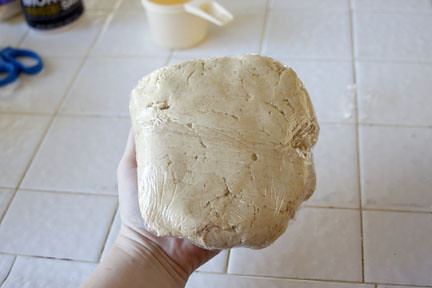
Now you need to refrigerate the dough for at least an hour so it's easier to work with.

IMG_2960

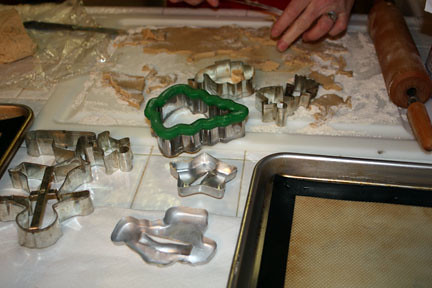
Roll your dough out on a floured surface (I used GF Oat Flour). If it's not rolling well (i.e., breaking apart), it may be easier to press it out with your hand.

IMG_2961

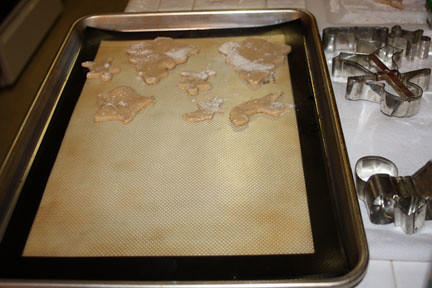
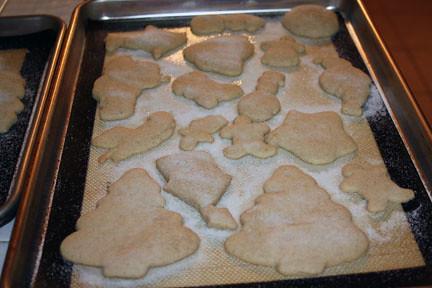
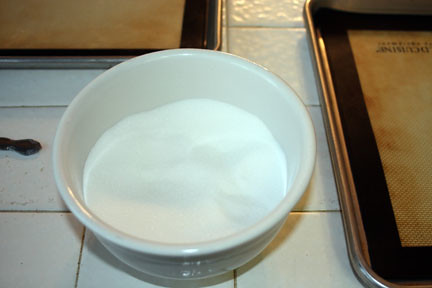
Make fun holiday shapes! Sprinkle (generously!) granulated sugar over the top of all the cookies and bake them at 350 degrees for 10 minutes.

IMG_2962

Yum!

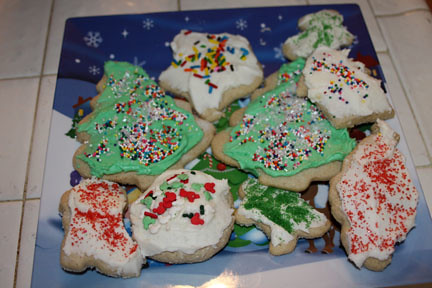
IMG_2965

Decorate with your favorite frosting(s), sprinkles and toppings!!! These taste great and made it really feel like Christmas...thanks Julie!!!


Rolled Sugar Cookies
Prep Time: 20 Minutes
Total Time: 2 Hours (with chilling)
Yield: 36-42 Cookies

2/3 cup Sugar
1 cup Butter or Butter Substitute
1 Egg
1 tsp. Vanilla Extract
1 1/2 cups Oat Flour*
1 cup Tapioca Flour*
1/2 tsp. Xantham Gum
1/2 tsp. Salt

Preheat your oven to 350 degrees. In a medium bowl, mix flours, xantham gum and salt.

In an electric mixer, beat butter and sugar. Add in egg, vanilla and gradually the flour mixture. Beat on low speed until mixed well. Cover and chill the dough for at least one hour.

Roll out the dough on a floured surface, sprinkle the cookies with granulated sugar and bake for 10 minutes. Cool the cookies and frost.

*Alternate Flours: Use 2 1/2 cups total of a Rice Flour Blend made of: 6 cups White Rice Flour, 2 cups Potato Starch & 1 cup Tapioca Flour


Printable Recipe:

Monday, December 6, 2010

Almond Blossoms

IMG_2874

Perhaps you've seen these as Peanut Blossoms, they're a pretty well known holiday cookie. My little 1 year old niece is deathly allergic to peanuts and these are her mom's favorite cookies so I decided to try to create a peanut free version. They turned out great and, personally, I prefer them to the peanut version!

_MG_2856

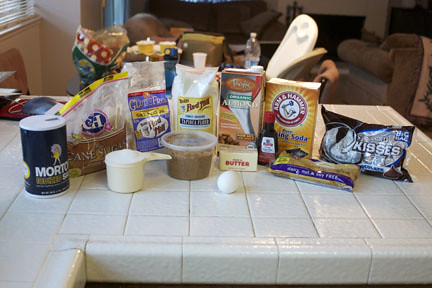
Here's what you're going to need.

IMG_2859

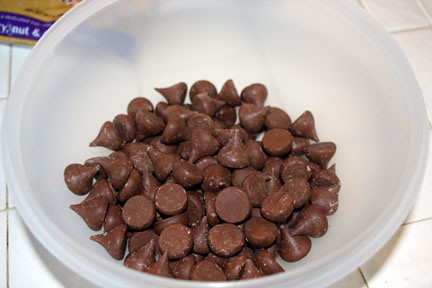
This is my favorite part, peeling all the Hershey Kisses!

_MG_2861

Next, mix up the dry ingredients: oat and tapioca flours, baking soda and salt.

IMG_2864

Use an electric mixer to cream the almond butter and butter. I used a freshly pressed almond butter from our local market so the only ingredient is almonds. I think this is why it tasted so great!

IMG_2868

Mix in the sugars gradually. Followed by the egg, milk and vanilla. Gradually add the flour mixture.

IMG_2870

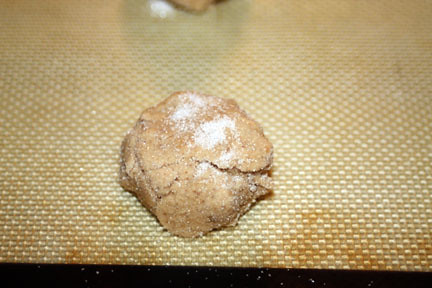
You need to be able to roll the dough into balls to roll into granulated sugar. If the dough is too soft to work with, refrigerate until able to use (about 20 minutes).

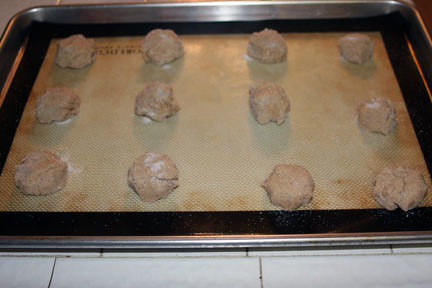
IMG_2871

Line them up with room to spread on a baking sheet.

IMG_2872

These are going to be good!!

IMG_2873

Bake at 350 degrees.

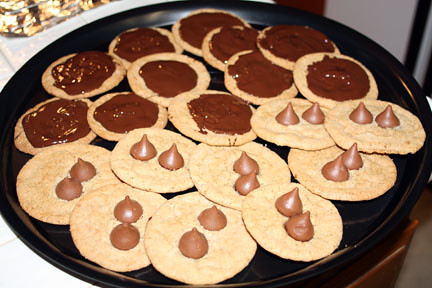
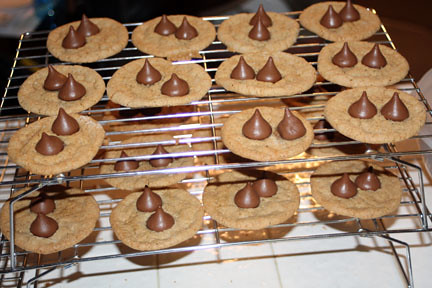
Here's where we're going to have 2 different sets of directions. If you want to use Hershey Kisses, bake for 10 minutes, add Kisses to the cookies, return to the oven for 3-5 minutes until done.

If you want to use allergen free chocolate, bake for the full 13-15 minutes without putting any chocolates on it.

Remove cookies from oven and let cool on pan on rack 10 minutes. Remove from pan and let cool completely on rack.

IMG_2876

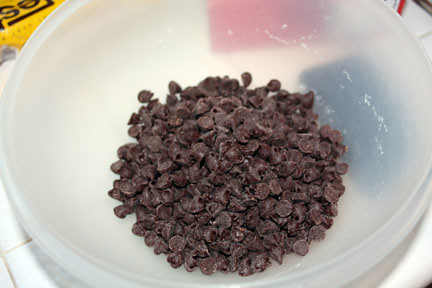
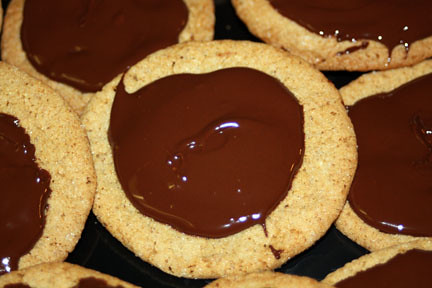
If you would like the allergen free cookie, melt the Enjoy Life Chocolate Chips and place a teaspoon of melted chocolate in the center of the cookies. Use the back of the spoon to spread the chocolate around the cookie.

I promise, these are really good! I actually like these better than the Hershey Kiss version because it more evenly distributes the chocolate!

IMG_2874

I promise either way you go, these cookies will make for a very tasty treat and a great peanut free option to this popular cookie!


Almond Blossoms
Prep Time: 20 Minutes
Total Time: 50 Minutes
Yield: 36 Cookies

1 cup Oat Flour
3/4 cup Tapioca Flour
1 tsp. Baking Soda
1/4 tsp. Salt
1/2 cup Almond Butter
1/2 cup Butter (or Butter Substitute)
1 cup Granulated Sugar, Divided
1/2 cup Brown Sugar
1 Egg
2 Tbsp. Almond Milk
1 tsp. Vanilla Extract
1 Large Bag of Hershey Kisses*

Preheat oven to 350 degrees.

Mix the flours, baking soda and salt in a medium mixing bowl. In an electric mixer, blend the almond butter and butter well. Gradually add 1/2 cup of granulated sugar and brown sugar. Add the egg, milk and vanilla, mix well. Gradually add the flour mixture and beat well. If the batter is too loose to be handled, refrigerate until firm (about 20 minutes).

Roll batter into teaspoon sized balls and roll to coat in remaining 1/2 cup of granulated sugar. Place cookies on a baking sheet spaced at least 2" apart. Bake for 10 minutes. Place 1 (or 2!) Hershey Kisses in the center of the cookie. Bake for an additional 3-5 minutes until light brown and cooked through.

Cool on pan on rack 10 minutes. Remove from pan and cool on rack completely. Enjoy!


*Dairy Free & Soy Free: Eliminate the Hershey Kisses and substitute Enjoy Life Chocolate Chips. Melt 5 ounces of chocolate (1/2 bag) in the microwave. Once the cookies have baked, drop 1 teaspoon of melted chocolate into the center of the cookie. Use the back of the spoon to spread the chocolate over the cookie. Let cool.


Printable Recipe:
Peppermint Bark

IMG_2903

Yeah for Peppermint Bark! I'm so glad it's the holidays so it's time for so many great treats!

I'm going to break this down into 2 different recipes. One regular Peppermint Bark and one that is dairy and soy free (both are, of course, gluten-free).

IMG_2880

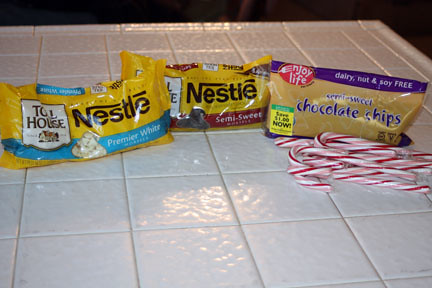
The ingredients for both versions of this recipe!

IMG_2883

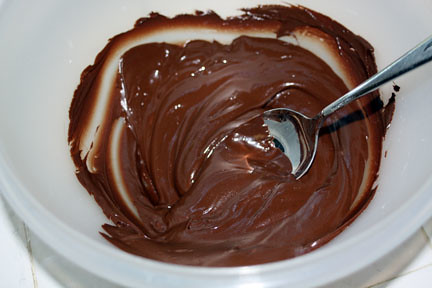
Let's start with the standard peppermint bark. Melt 12 ounces of dark or semi-sweet chocolate chips. Melt in the microwave in 30 second intervals, stirring in between each interval.

IMG_2884

Why do I love melted chocolate so much?

IMG_2887

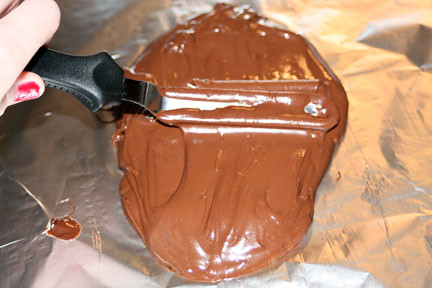
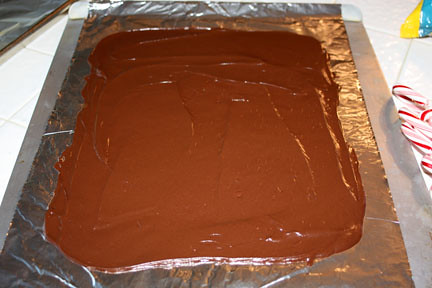
Pour the chocolate on a foil lined baking sheet. Use an offset spatula or back of a spoon to spread the chocolate to a thickness of approximately 1/8" thick.

IMG_2886

The chocolate does not need to go all the way to the edges, you just want it to be the right thickness!

IMG_2893

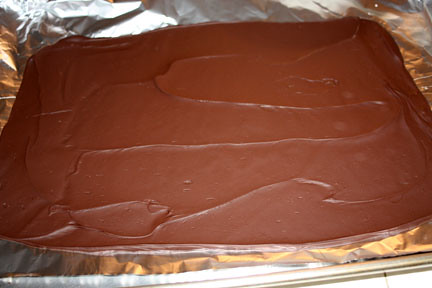
Refrigerate the chocolate until it is firm, about 10-15 minutes.

IMG_2888

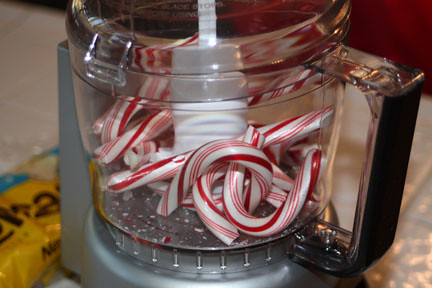
While the chocolate is in the fridge, place 8 candy canes in a food processor. Grind them however large or small you prefer.

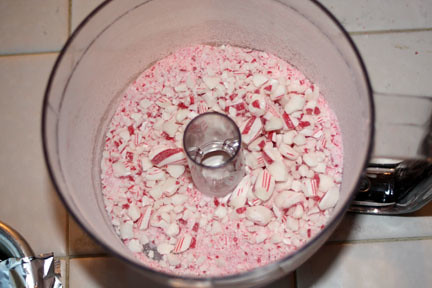
IMG_2890

I like them really small and finely ground, but it's definitely a matter of taste!

IMG_2894

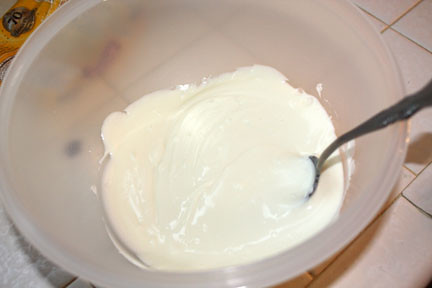
Melt 12 ounces of white chocolate chips in the microwave the same way you melted the chocolate!

IMG_2895

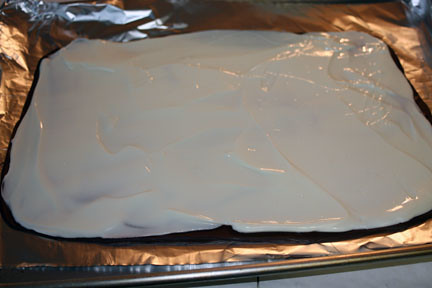
Spread the white chocolate evenly over the dark chocolate. Do it really quick because it will sort of start to melt the chocolate underneath! I learned this from personal experience!! (Sorry for this terribly dark picture!)

IMG_2896

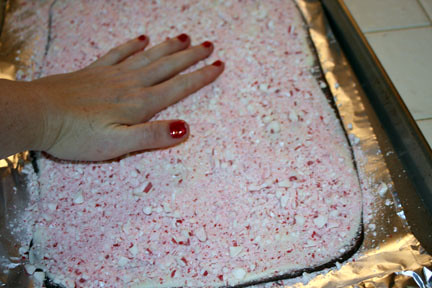
Sprinkle the peppermint pieces over the wet white chocolate and use your hand to gently press the candy into the white chocolate. You want to make sure you get it to adhere to the white chocolate!

Refrigerate until solid. This should only take about 10-15 minutes, but you want to make sure it's nice and set!

IMG_2897

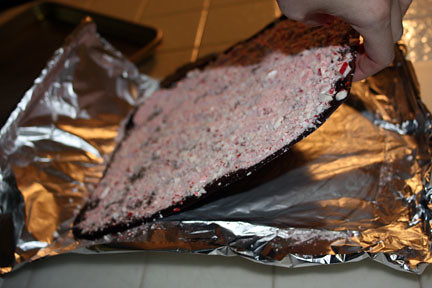
Once completely set, place the bark on a work surface. Peel off the foil.

IMG_2899

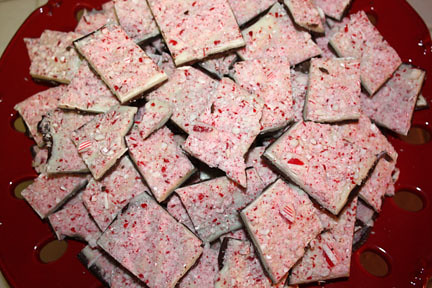
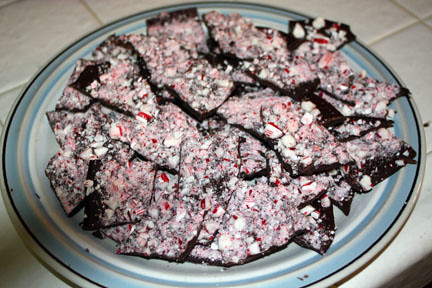
Chop into uneven pieces.

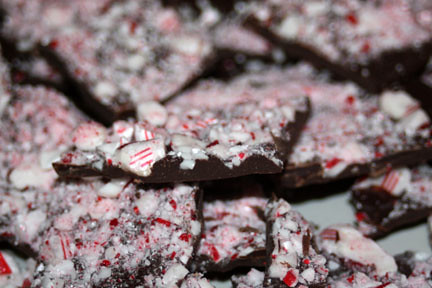
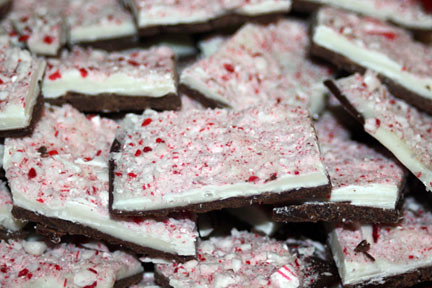
IMG_2903

Oh I love this stuff!!!

IMG_2908

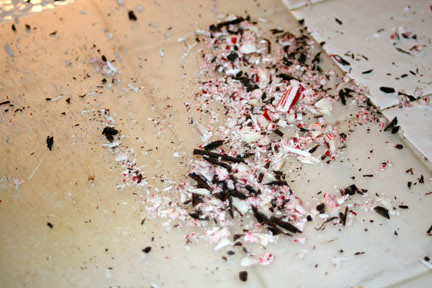
I even love all the extra bits left at the end! What, I would just hate to see things go to waste!!

IMG_2892

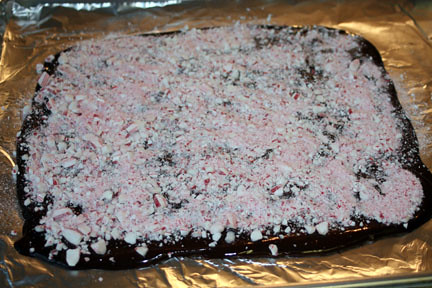
My variation for a dairy and soy free version of peppermint bark. Use the allergen free Chocolate Chips and melt the contents of the 10 ounce bag in the same manner as above. Also as above, spread the melted chocolate chips on a foil covered baking sheet. Spread about 1/4" thick because you will not be using any white chocolate. While the chocolate is still wet, sprinkle 7 ground up candy canes over the top and gently press it into the chocolate to adhere.

IMG_2904

Place into the refrigerator and let set. Once set, on a working surface peel the foil off the back and cut into uneven pieces. Serve and enjoy!

IMG_2907

Trust me, it's still great even without the white chocolate. I couldn't find a dairy free and soy free white chocolate.

If you would like white chocolate chips that are dairy free but contains soy, check here.

If you would like white chocolate that is soy free but contains dairy, check here.

Mostly, if any of you know of any dairy free AND soy free white chocolate, please oh please let me know!!!


Peppermint Bark
Prep Time: 25 Minutes
Total Time: 25 Minutes
Yield: Approximately 50, 1"x1" pieces

12 oz. Dark or Bittersweet Chocolate*
12 oz. White Chocolate*
8 Candy Canes

Place foil over a baking sheet. Melt dark chocolate in microwave in 30 second intervals, stirring every 30 seconds. Using a small offset spatula or the back of a spoon, spread the melted chocolate onto the prepared foil lined pan until it is approximately 1/8" thick. Refrigerate 10-15 minutes until set.

Use a food processor to grind 8 candy canes to the desired size. Melt the white chocolate in the microwave as was done for the dark chocolate. Remove the set dark chocolate from the refrigerator and pour the white chocolate over the top. Moving quickly, spread the white chocolate evenly over the dark chocolate. This must be done quickly before the dark chocolate begins to melt and mix with the white chocolate. Sprinkle the ground candy canes over the wet white chocolate. Using your hand, gently press the candy pieces into the chocolate to ensure that it adheres. Refrigerate 10-15 minutes until set.

Once the bark is set, place on a work surface. Peel the foil from the back of the bark. Chop the bark into uneven pieces. Serve and enjoy!

*Soy Free & Dairy Free Variation: Replace the standard dark chocolate and white chocolate with a 10 ounce bag of Enjoy Life Allergen Free Chocolate Chips. Melt as above. Spread on a foil lined cookie sheet until it is approximately 1/4" thick. Sprinkle 7 ground candy canes over the top of the wet chocolate and gently press with your hand to adhere. Refrigerate until set, chop into uneven pieces as above. Yields approximately 25, 1"x1" pieces.


Printable Recipe:
Saturday, November 20, 2010

Pumpkin Cake with Caramel Cream Cheese Frosting

_MG_2813

This is an excellent gluten-free dessert to finish off your Thanksgiving dinner! Trust me, it's really good and so fun to make the caramel in the frosting! None of your guests will believe it's gluten-free until you start eating it!

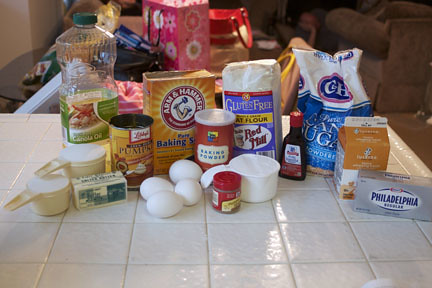
_MG_2782

This is what you're going to need. Also, grease two, 9" cake pans.

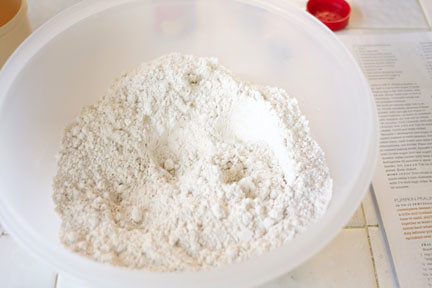
_MG_2784

First, let's combine the flours (I used oat and tapioca - my favorite combo), baking soda, baking powder and pumpkin pie spice in a large bowl. Mix it up!

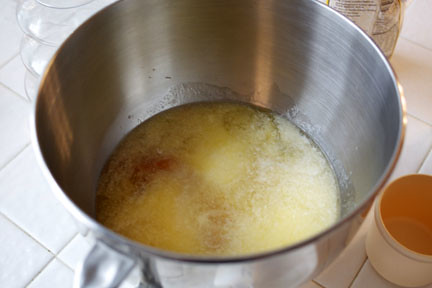
_MG_2783

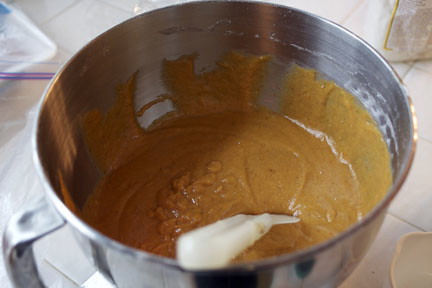
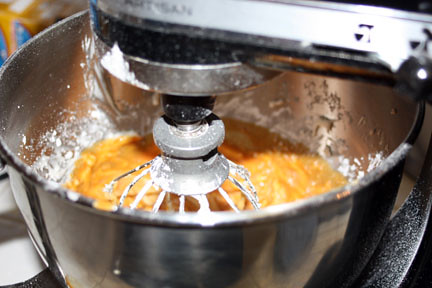
Next, combine all of the following ingredients: canned pumpkin, sugar, canola oil, melted butter and vanilla in the bowl for your electronic mixer. Beat until combined on medium speed.

Add each egg one at a time and mix well between additions.

Gradually add in the flour mix.

_MG_2785

Split the batter between the two cake pans. Bake at 350 degrees for 30-35 minutes until a tester inserted into the center comes out clean. Cool for 10 minutes on wire racks in pan. Remove from pans and let the cakes cool to room temperature.

_MG_2786

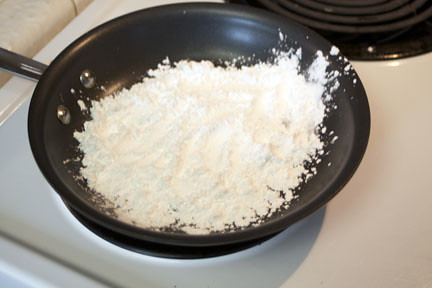
While that's baking, let's make the frosting so it can cool in time to frost the cake! Start with a small frying pan on medium heat. Sprinkle 1/2 cup of powdered sugar into the pan. Here's where this gets fun, I promise! Don't stir the sugar, just watch it and it will melt.

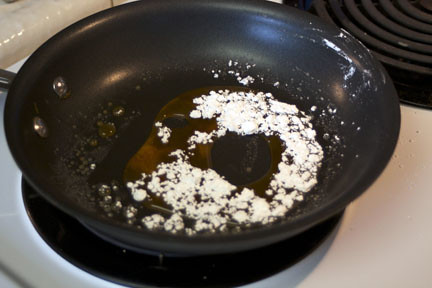
_MG_2789

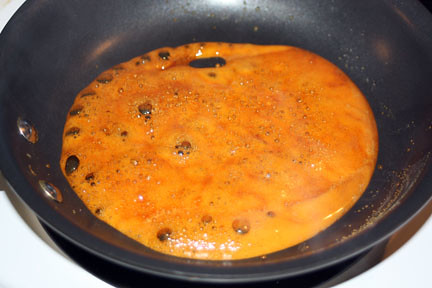
Here is what it will look like while melting.

_MG_2790

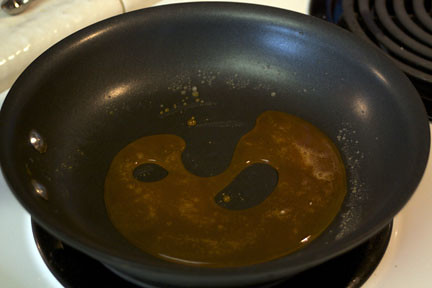
Once the sugar melts, then you can stir the liquid a few times as you let it turn a deep amber color.

IMG_2793

When it starts to bubble like this, it's when I move on to the next step.

IMG_2794

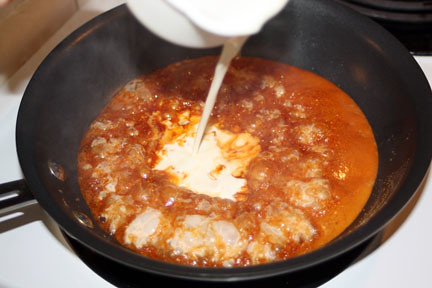
Slowly and carefully stir in 1/2 cup of heavy cream, vanilla and salt. This will make the caramel mixture bubble like crazy, it's supposed to do that, just keep stirring!

IMG_2796

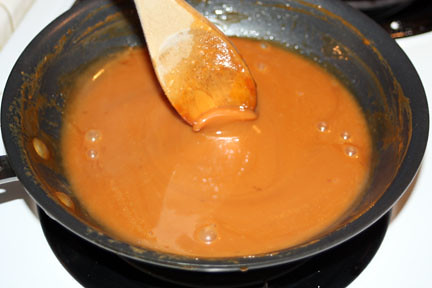
Stir it up, making sure all of the little caramel bits dissolve and are stirred in. Once it is all stirred in, stir in an additional 2 teaspoons of heavy cream.

Yum!

Transfer to a small bowl and cool to room temperature.

IMG_2802

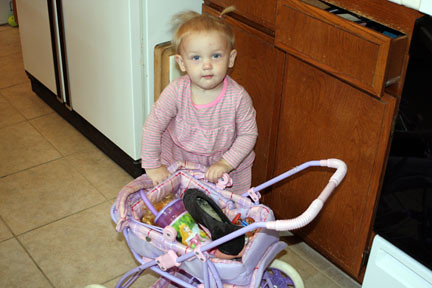
I'm just saying, try to be less distracted than I was while making caramel! I had this little cutie so excited to push her stroller back and forth through the kitchen! I couldn't resist giving her attention with each pass, what can I say?! This is my niece, Penelope and she was having a great time during the frosting making process, especially by watching the mixer!

IMG_2804

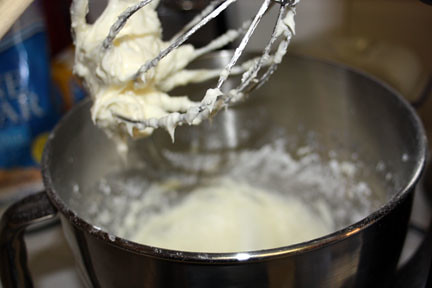
Next step, cream the butter and cream cheese in your mixer on medium-high speed. Add the remaining powdered sugar gradually and beat until well combined.

IMG_2805

Last step, add in the room temperature caramel that you made. Beat until well combined and place frosting in the refrigerator to cool to a spreading consistency.

_MG_2810

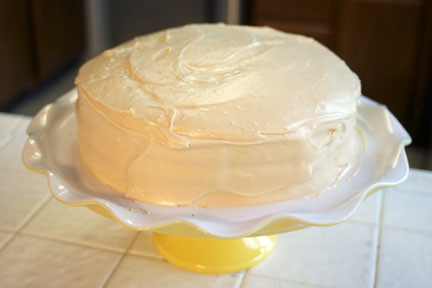
When everything is cooled, frost it...

_MG_2813

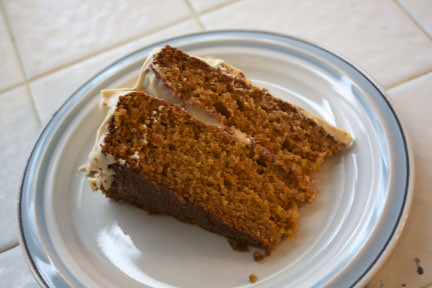
Slice it...

_MG_2815

and enjoy it!!!


Pumpkin Cake with Caramel Cream Cheese Frosting
Prep Time: 30 Minutes
Total Time: 1 Hour
Yield: 16 Servings

Cake:
2 cups GF Oat Flour
1 cup Tapioca Flour
2 tsp. Baking Soda
2 tsp. Baking Powder
1 1/2 tsp. Pumpkin Pie Spice
1, 15 ounce Can Pumpkin
1 1/2 cups Granulated Sugar
3/4 cup Canola Oil
1/2 cup Butter, Melted
2 tsp. Vanilla Extract
4 Eggs

Frosting:
1 lb. Powdered Sugar, Divided
1/2 cup Plus 1 Tbsp. Heavy Whipping Cream
1 1/2 tsp. Vanilla Extract
1/4 tsp. Salt
8 ounces Cream Cheese
1/4 cup Butter


Preheat oven to 350 degrees. Grease two 9 inch cake pans, set aside.

Mix flours, baking soda, baking powder and pumpkin pie spice in a large bowl.

In a separate large bowl, add canned pumpkin, sugar, oil, melted butter and vanilla. Beat with electric mixer until well combined. Add each egg, beating well between each addition. Gradually beat in the flour mixture. Split batter between the prepared 9" cake pans. Bake at 350 degrees for 30-35 minutes, until tester inserted into center of the cake comes out clean. Once done, cool on rack in pans for 10 minutes. Remove from pans after 10 minutes and cool completely.

For the frosting, begin with a small frying pan over medium heat. Sprinkle 1/2 cup of powdered sugar into the frying pan. Without stirring, melt the powdered sugar. Once melted, stir occasionally as the sugar mixture cooks to a deep amber color. Once a deep amber, carefully stir in 1/2 cup heavy whipping cream, vanilla and salt. This will make the mixture bubble vigorously. Stir until the caramel is smooth and stir in the remaining tablespoon of heavy whipping cream. Pour into a bowl and allow to cool to room temperature.

Beat the cream cheese and butter in electric mixer with whip attachment. Gradually add remaining powdered sugar and whip until well combined and fluffy. Add room temperature caramel and mix well. Refrigerate the frosting for about 30 minutes or until it is a spreading consistency. Frost the cooled cakes and enjoy!


Printable Recipe: