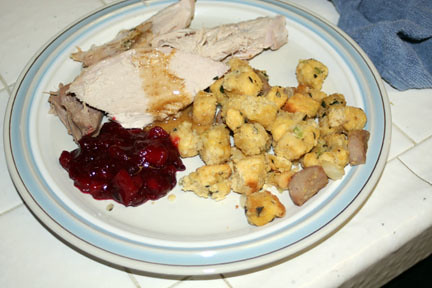
This is a great turkey recipe! It is the moistest (I don't think that's a word, but I'm sticking with it!) and tastiest turkey I've ever had.
If you feel overwhelmed with the thought of making a whole turkey, you're not alone! I know that I've mentioned before that I don't like raw meat very much...let's just say...a raw entire turkey is so gross to me! I decided to share a couple of pictures with you from the first time I made my own turkey a few years ago...
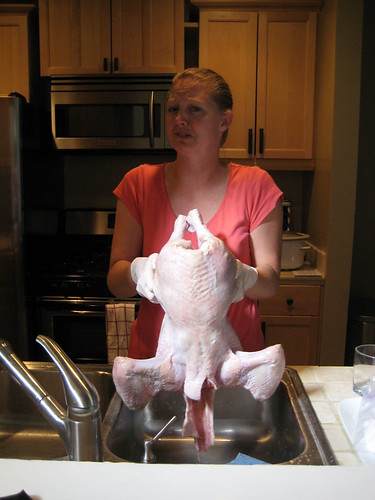
Ummm...super grossed out...
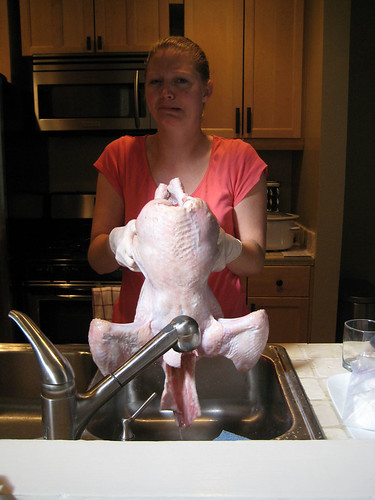
Seriously, ready to lose it! I'd like to tell you that I'm better now, but I'm not much better! I was still gagging during most of the raw turkey prep this time around as well! This is meant to comfort you, I swear! Despite my disgust, I can still turn out a super tasty turkey, just push through the discomfort!
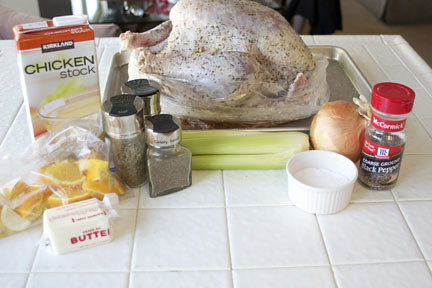
Here's what you will need!
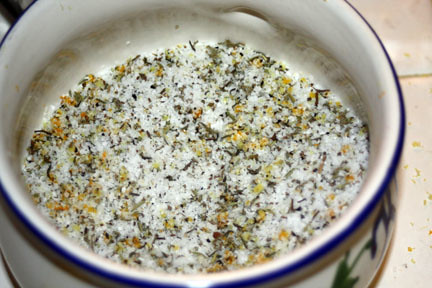
We are going to do a salt brine, so start the turkey the day before you need to cook and eat it! First step is to combine the coarse kosher salt, thyme, majoram, rosemary, celery seeds, sage, orange peel and lemon peel.
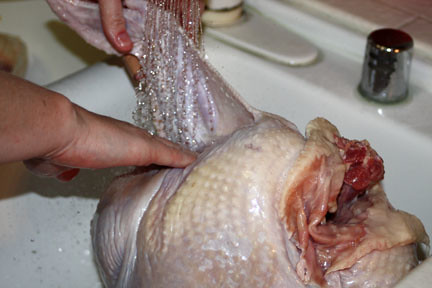
First step, wash the turkey and remove all the innards of the turkey (this is where I run into problems!). You'll notice here, I have washed under his arms very well!
Pat the turkey dry and place in a turkey oven bag on a baking sheet to brine the turkey in.
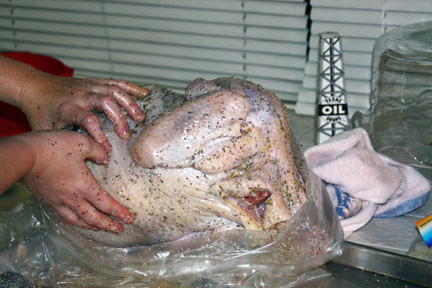
Rub the salt brine all over the outside and inside the cavity of the turkey. Cake it on there, the more the merrier! The great thing about a salt brine is that it makes the turkey so moist after you cook it.
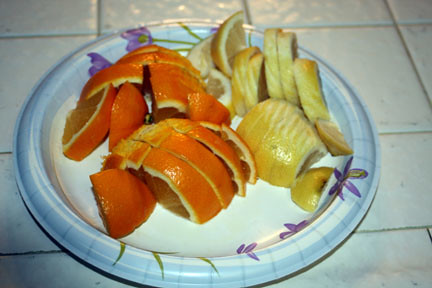
Cut up the orange and lemon that you grated and save them to stuff the turkey with before you cook it.
Wrap up the turkey in the oven bag and place it in the refrigerator. You want to leave the salt brine on the turkey for 12-24 hours.
When you're ready to get the turkey ready to cook, rinse all of the salt brine off of the outside and inside of the turkey. Place the turkey on the rack of a roasting pan.
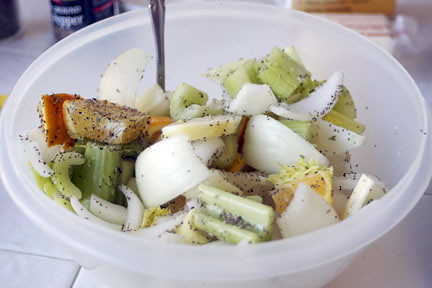
Chop one onion into large pieces, a celery stalk into large pieces and add dried herbs and previously chopped orange and lemon. Mix. Stuff the main cavity and the neck cavity with this mixture. It will make the turkey very flavorful!
Tie the legs loosely using cooking twine to try to keep the stuffing in the turkey.
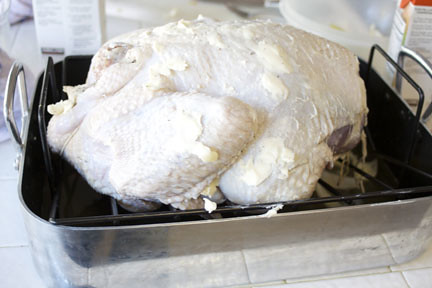
Rub butter all over the turkey. It will depend on the size of your turkey on how much you need to use. Use a lot, you want to butter that sucker up! It will make it so lovely and golden brown. Yum!
Pour 2 cups of chicken stock in the roasting pan. Make sure the bottom of the pan never gets dry.
Place in the oven on the lowest rack at 325 degrees.
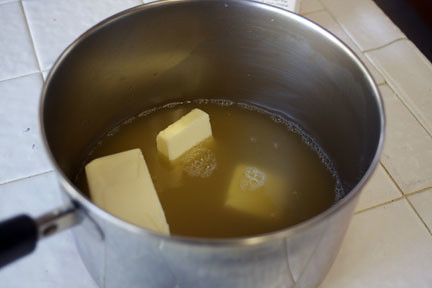
Instead of basting with the pan juices, I like to make a mixture of chicken stock and butter. It's really good! Leave it on the stove on low during the whole time the turkey is baking.
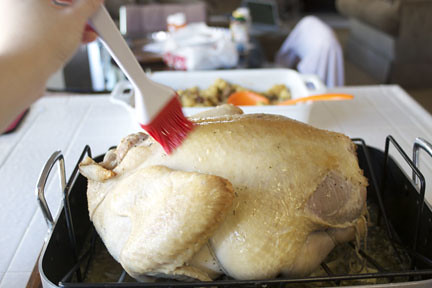
Every 45 minutes, baste very generously with the chicken stock/butter mixture.
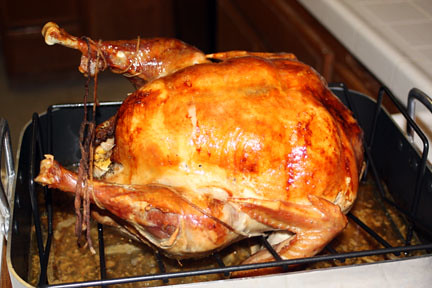
Bake until the turkey temperature at the thickest part of the thigh is 165-170 degrees. Isn't it lovely! Tent loosely with foil and let it sit for a good 30 minutes.
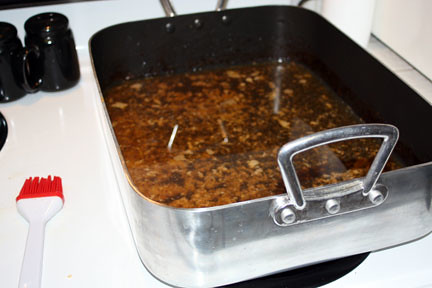
Skim the fat off of the pan drippings. Place the roasting pan on medium-high heat on 2 burners of the stove.
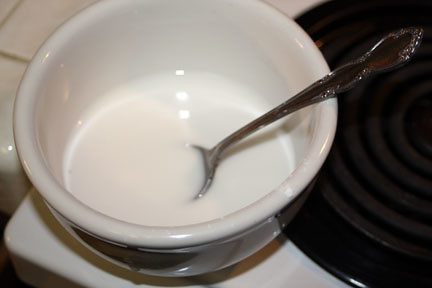
Mix 3 tablespoons of tapioca starch and 6 tablespoons of water. Slowly stir into the gravy.
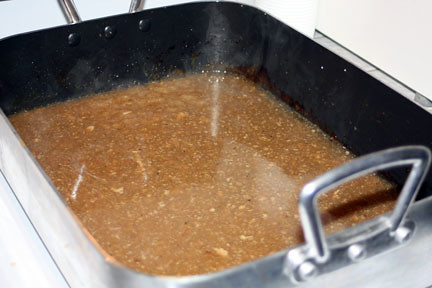
Bring the gravy to a boil and cook to thicken. Taste the gravy and use salt and pepper to taste.
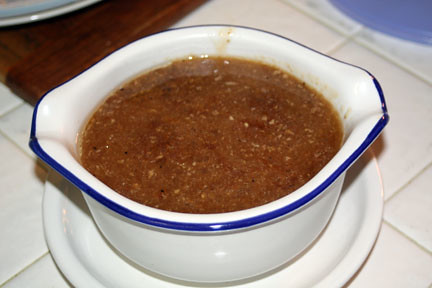
Serve gravy super hot!
Enjoy your turkey, gravy and whatever other wonderful Thanksgiving treats you've made!!
Traditional Roasted Turkey & Gravy
Prep Time: 1 Hour
Total Time: 5 Hours
Yield: 8-12 Servings
Salt Brine:
1/2 cup Coarse Kosher Salt
1 tsp. Dried Majoram
1 tsp. Dried Rosemary
1 tsp. Dried Sage
1 tsp. Dried Thyme
1 tsp. Dried Celery Seed
1 tsp. Grated Orange Peel
1 tsp. Grated Lemon Peel
Turkey:
1, 13-15 lb. Fresh Turkey
1 Onion, Chopped in Large Pieces
1 Celery Stalk, Chopped in Large Pieces
1 Whole Orange, Chopped with Peel
1 Whole Lemon, Chopped with Peel
1 tsp. Dried Majoram
1 tsp. Dried Rosemary
1 tsp. Dried Sage
1 tsp. Dried Thyme
1 tsp. Dried Celery Seed
4 cups Chicken Stock, Divided
3/4 cup Butter, Divided
Gravy:
Pan Drippings
3 Tbsp. Tapioca Starch
Salt & Pepper to Taste
Mix all ingredients in salt brine. Rinse the turkey inside and out. Remove the innards. Pat dry. Place the turkey in an oven bag on a baking sheet. Rub the salt brine all over the outside and inside of the turkey. Seal the oven bag and place the turkey in the refrigerator for 12-24 hours before cooking.
Preheat oven to 325 degrees.
Chop onion, celery, lemon and orange. Mix with the majoram, sage, rosemary, thyme and celery seeds. Rinse the salt brine off of the turkey, inside and out. Pat dry. Place the turkey on a rack in a roasting pan. Stuff the neck cavity and main cavity with the onion mixture. Tie the legs loosely with cooking twine. Use about 1/4 cup of butter and rub all over the outside of the turkey, use more as needed. Place 2 cups of chicken stock in the roasting pan (make sure there is always liquid in the bottom of the roasting pan throughout cooking). Place turkey in oven on lowest rack at 325 degrees.
Make liquid to baste the turkey with by placing 2 cups of chicken stock and 1/2 cup of butter in a small saucepan. Place saucepan on low heat and make sure the butter has melted by the time you need to baste the turkey. Leave on low heat throughout the turkey's baking time.
Baste the turkey generously with the chicken stock mixture every 45 minutes. Bake the turkey for a total of about 3.5-4.5 hours. This will depend on the size of your turkey. It will be done when a meat thermometer inserted into the thickest part of the thigh registers between 165-170 degrees. Remove from oven and tent loosely with foil. Let the turkey sit for about 30 minutes.
To prepare gravy, skim the fat from the top of the pan drippings. Place the roasting pan with pan drippings on medium-high heat on 2 burners of the stove. Thanks to the basting, there should be plenty of pan drippings. If there are not, add more chicken stock to your desired level. Mix 3 tablespoons of tapioca starch with 6 tablespoons of cold water. Slowly stir the tapioca starch liquid into the pan drippings. Bring the gravy to a boil and allow it to cook to thicken. Taste the gravy, use salt and pepper to taste. If it is not thick enough, continue to thicken with tapioca starch in a 2:1 ratio of water to tapioca starch. Lower the temperature and just let it gently boil until it is time to serve. Serve very hot.
Carve the turkey, serve with gravy and enjoy!
*Dairy Free Version: Use Butter Substitute.
Printable Recipe: